Gab with Gaby

An engineer's creative corner studio.

Copic Markers

Gab about Lawnfawnatics - Happy Little Critters

Stamping, Copic Markers, Lawn Fawn, StampsGabriela Sims3 Comments

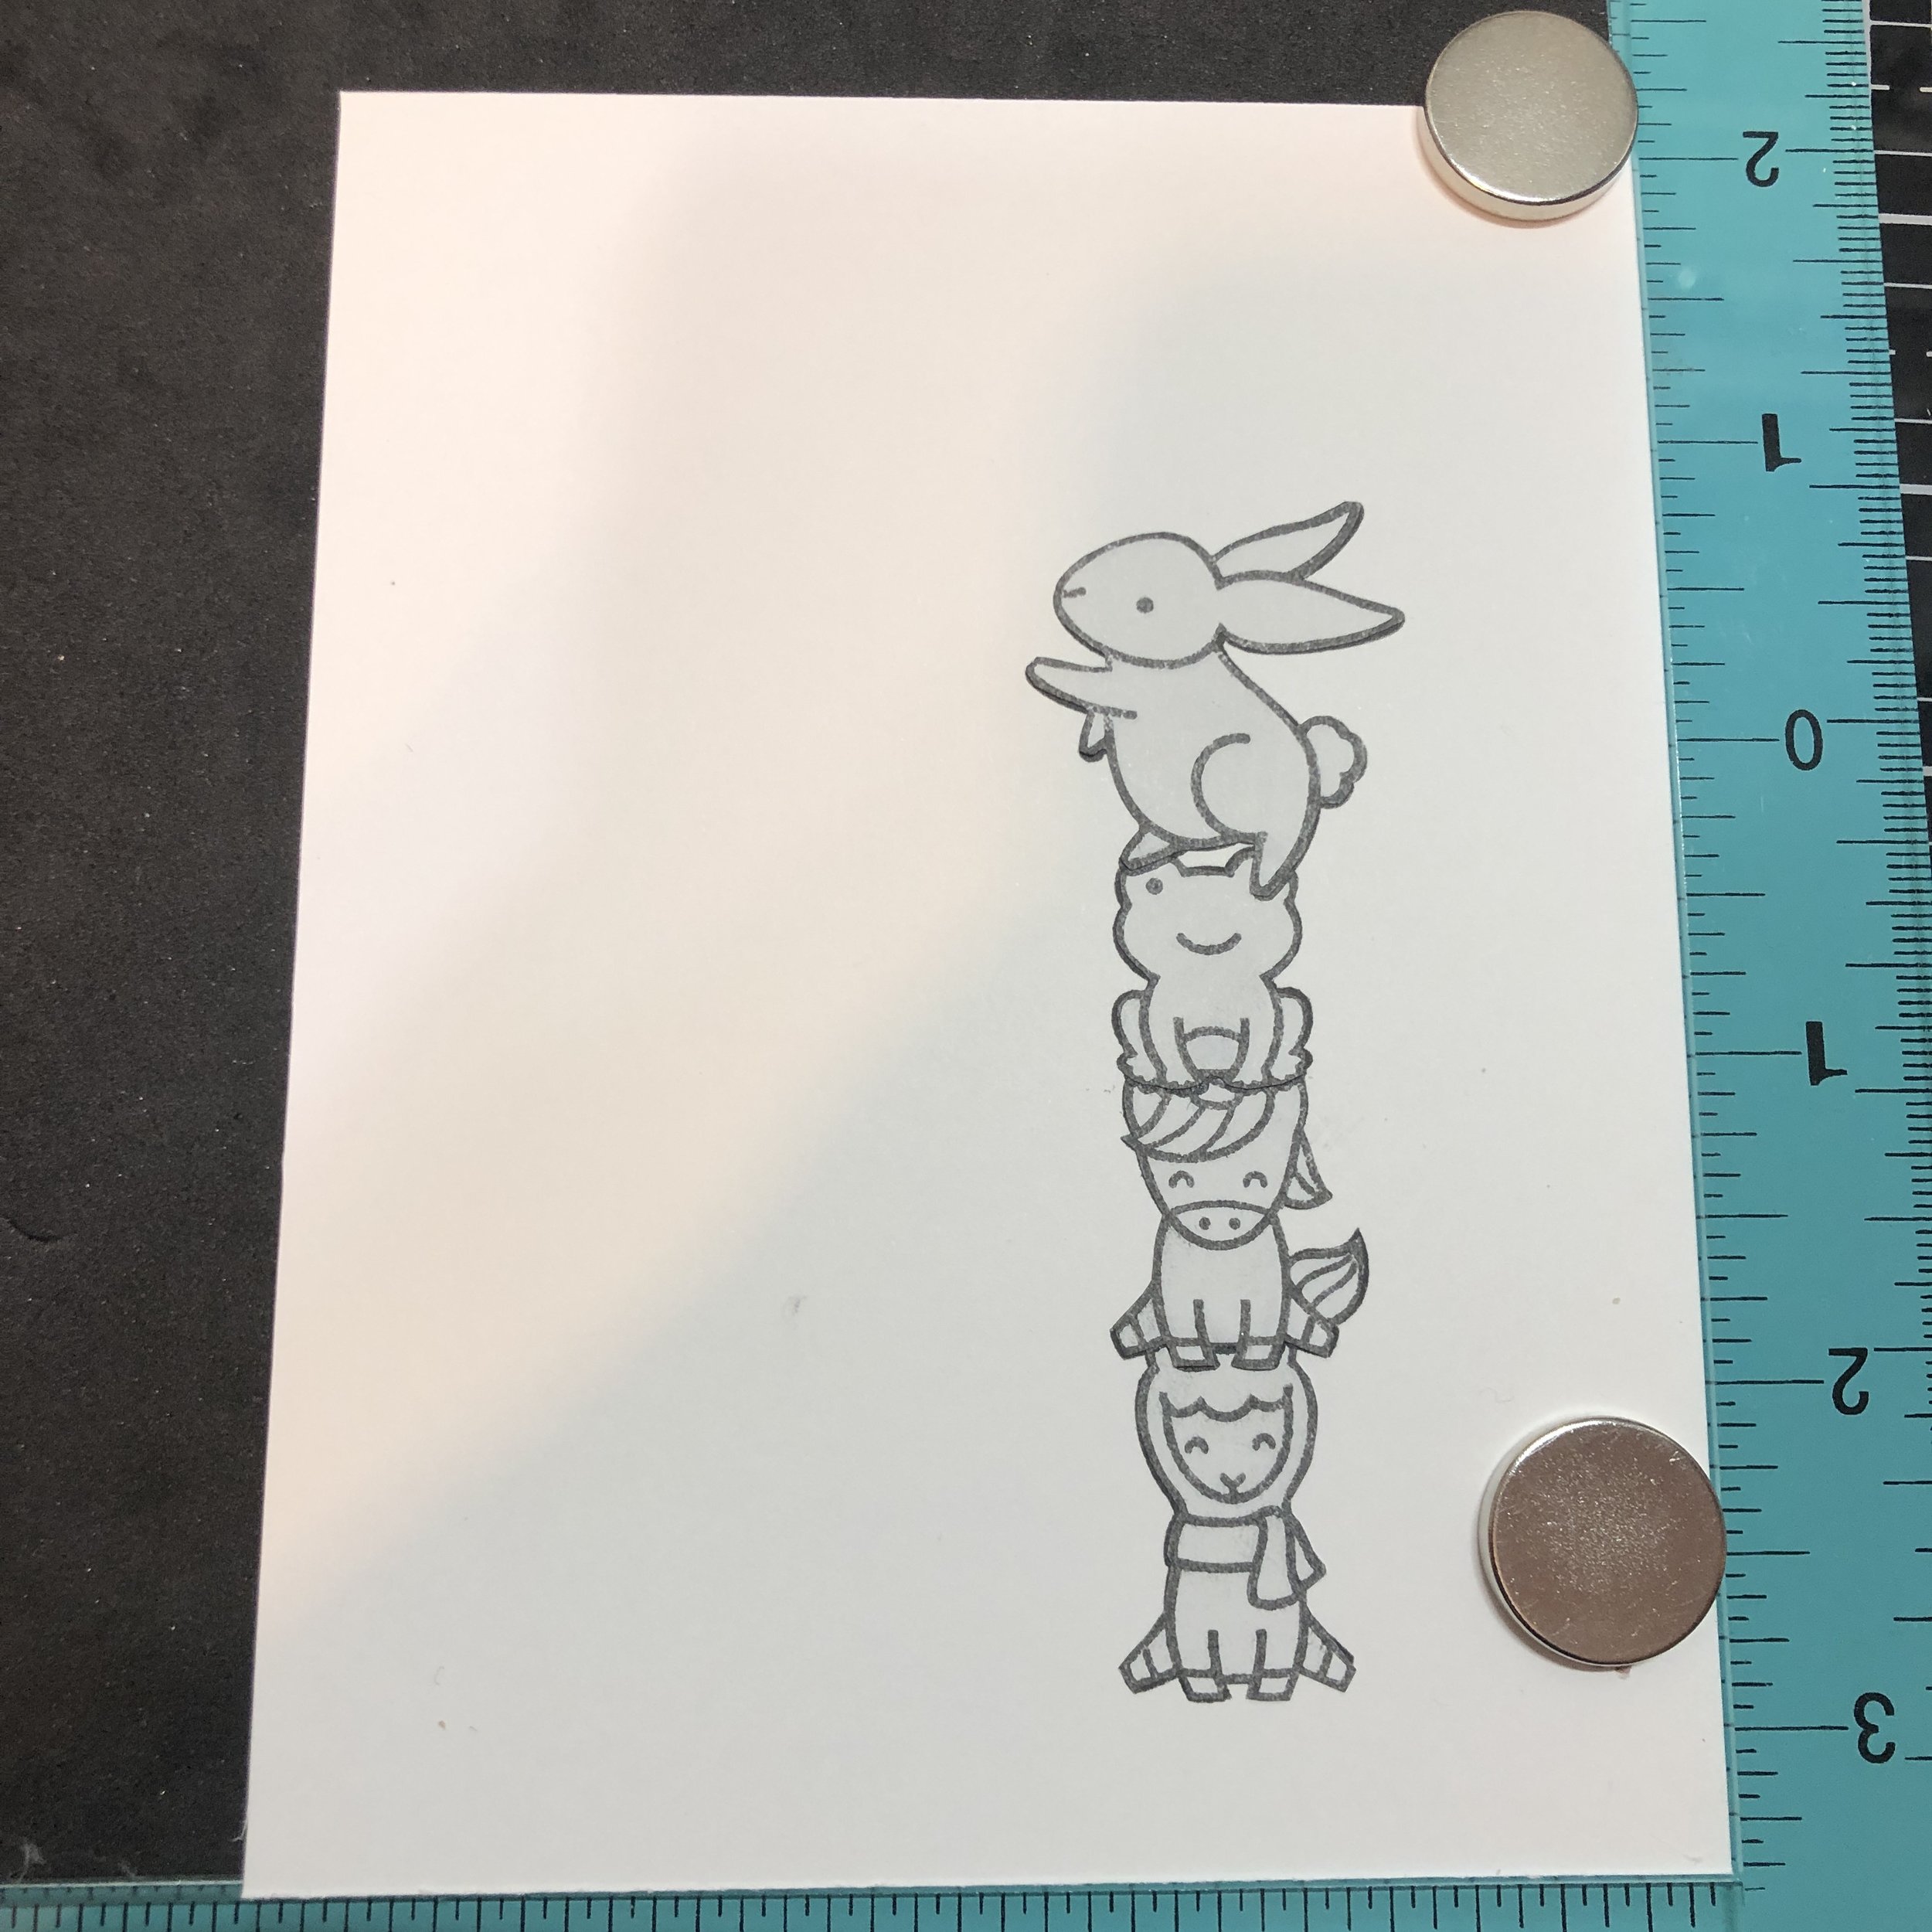
Hello there! The new challenge is all about critters so I pulled out several stamp sets and got to work. I decided to do a one layer card that involved Copic coloring and some masking. I wanted my critters to be doing something normal, so I decided to have them  delivering a handmade card. I used Toadally Awesome, Say What? Christmas Critters, Love Letters, Yay Kites, and Jump for Joy. I started by arranging my images to get an idea of what I would need to mask.

IMG_1189.JPG

Then I started stamping and masking using some Post-it tape. 

IMG_1190.JPG

I then used my copics to color the sky and grass.

IMG_1192.JPG

Next I peeled the images off one by one and started to color them.


IMG_1194.JPG

My sentiment is from the Yay, Kites set and I stamped it with some Versamark ink and heat set it with white embossing powder. I finished by adding some Spectrum Noir Sparkle Pen, some tiny hearts, and some Gelly Roll pen accents. I trimmed a piece of Gotta Have Gingham down and mounted it on a 4.25” x 5.5” card base. 

IMG_1199.JPG

This was a super fun card to make and it reminded me that I have quite a few Lawn Fawn sets that I really love. Until next time, stay safe in these crafting streets.

Happy crafting,

Gaby

I have linked* to the supplies I used below:

Yay, Kites

Toadally Awesome

Say What? Christmas Critters

Love Letters

Jump for Joy

Gotta Have Gingham

Embossing Powder - White

Gelly Roll Pen

VersaMark Watermark Stamp Pad

Copic Markers

*Affiliate links used at no additional cost to you.

Gab about COPIC Ciao Markers Refills

Copic Markers, Markers, ColoringGabriela SimsComment

Hello and welcome to another crafty chat on my blog. Today I’m talking about ways to get more life out of your Copic Markers; my Copic of choice is usually a Ciao marker. I chose Ciaos because the come in 180 colors at a lower price point than the Sketch version. Quite frankly, those are enough colors for me and it allowed me to buy more colors when I was starting out. Ink refills are available for all of the Ciao colors as well as replacement Super Brush Nibs. But how to refill them?

You will need:

-Your dried out markers

-Matching refills

-A gram scale

-Some patience  

To check all of my markers (approximately 105) and refill the ones in need (approximately 10) it took me about 1.5 hours.

I found many videos on the Sketch markers, but not much on Ciaos. The technique is the same, but the amount of ink needed varies. For a new Ciao, I weighed it with the caps on and found it to be between 10-11 grams. 

IMG_1083.JPG

I then weighed a marker I knew was drying out and got a weight of 8-9g. I put those to the side and then weighed my refill with the cap off, a full refill weighs about 26g with no cap.

IMG_1084.JPG

Next, I removed my chisel nib from my marker and added 10-15 drops and the reweighed my refill, as the value decreased, I knew how many grams were transferred to my marker. I continued until I had added 2g to each dried out marker or brought the weight back up to 10g. A word of caution, 11g proved to be too much ink for my markers and I had to do some coloring on a scratch pad to run off the excess, I would stay as close to 10g as possible so you do not waste ink.

IMG_1085.JPG

I also noted the markers that weighed in at 9g so I would know which refills I need to pick up soon! 

I hope this tutorial was helpful for any other Ciao artists out there, until next time, stay safe in these crafting streets! 

Happy crafting,

Gaby